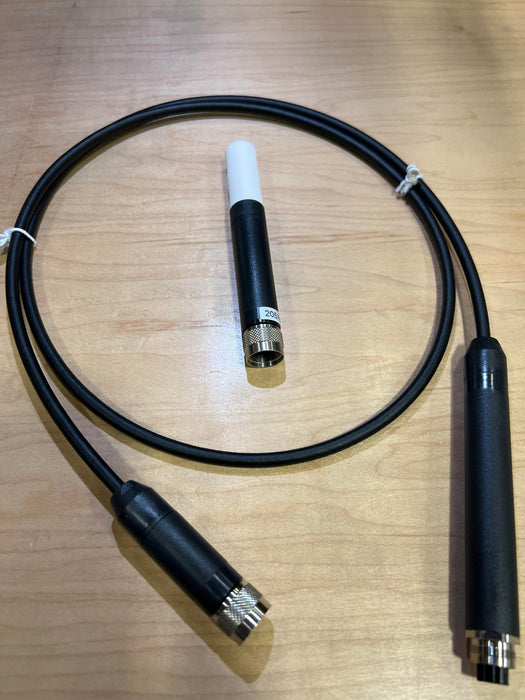
Humidity Data Logger with Probe and Cable

Free 30 Day Returns
OVERVIEW
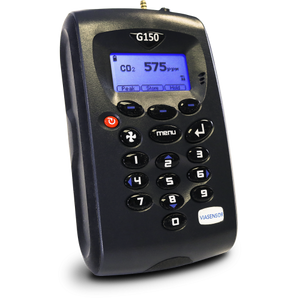
Viasensor G100 Humidity Data Logger with Probe and Cable comes in two diameters: 15 mm with a 1.0m cable and and 4 mm diameter with a 2.0m cable. The temperature and humidity data logger with probe measures humidity ranges from 0-100% and is used with the Viasensor G100.
Measures humidity range 0-100%. To be used with the G100
Helpful Links
- I have an Optima-7 and suddenly the H2S readings are bad or very high. Do I need to replace the sensor?
-
Not necessarily. When the H2S sensor is exposed to high levels of H2S gas, it is recommended to run the instrument with the gas pump on with ambient air for the same amount of time the sensor was exposed to the high level of H2S. This allows for purging of the instrument before turning the instrument off. Be aware though that continued exposure to levels over 5000ppm H2S will damage the sensor.
- Is it safe to expose the H2S sensor in an Optima-7 to H2S gas concentrations just below 5000ppm?
-
Exposure to H2S levels from 2000-5000ppm with moisture will degrade the sensor more quickly. Using filters inline reduces the moisture content of the gas stream entering the instrument.
- A gas reading is much lower than expected. Is the sensor bad?
-
A common cause for lower than expected gas readings is leakage in the instrument. Perform a leak test by connecting the Condensate Separator Tube to the Pressure Connection 1 Port with tubing.
Perform a leak test as described in the User Manual Optima 7 Biogas. If the leak test fails, check for defective or missing o-rings in the Condensate Separator Tube.
If the user uses the Sampling Probe with sampling lines to take gas readings, place a clean Leak Proof Test Cap on the end of the probe spike. Attach the other end of the sampling line onto the Condensate Separator Tube. Perform the leak test. If the leak test fails, check for defective or missing o-rings in the Condensate Separator Tube and for cracks in the sampling line.
- The Optima 7 is not displaying a temperature reading after inserting the thermocouple into the instrument.
-
Look closely at the prongs of the thermocouple. The prongs might be dirty. Use a sponge soaked in a 1:3 vinegar/water solution and gently wipe the prongs. Wipe dry with a lint-free cloth or allow to air-dry.
- The Optima 7 will not power down after pressing the OFF key. How do I turn off the instrument?
-
Simultaneously, press the ESC key and the power button then release both keys. You will have to update the Date and Time setting in your instrument afterwards.


