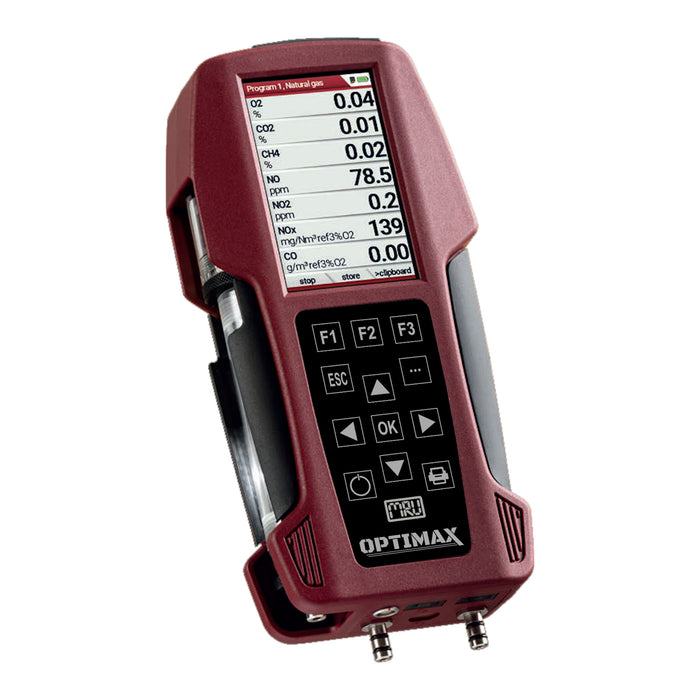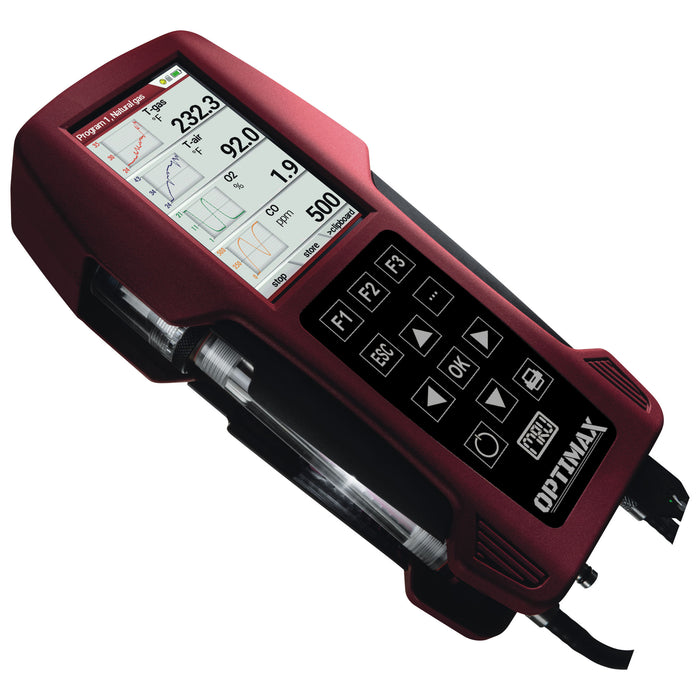
Optimax Biogas Analyzer

Free 30 Day Returns
* OPTIMAX BROCHURE *
* OPTIMAX USER MANUAL *
* MRU Lite Free Software *
* HOJA DE INFORMACION EN ESPANOL *
Description
- DUAL Bluetooth for Android and Apple MRU4U APP
- Condensate separator with WATER STOP FILTER and Internal flow monitoring and alarm
- IRDA interface for high speed infrared thermal printer
- Mini‐USB interface for cable data transfer to PC
- WLAN Interface
- SD card reader incl. activating software
- Internal data storage for up to 32000 measurements, with color data records visualization on display
- Battery and mains operation - high energy Li‐Ion battery, with 20 hours mains free operation
- Wall‐plug, universal grid power supply 90‐240Vac / 50‐60Hz for battery charging over the USB port
- Biogas sampling line Ø3x2mm Viton with 5m length and stainless steel instrument gas inlet port
Not necessarily. When the H2S sensor is exposed to high levels of H2S gas, it is recommended to run the instrument with the gas pump on with ambient air for the same amount of time the sensor was exposed to the high level of H2S. This allows for purging of the instrument before turning the instrument off. Be aware though that continued exposure to levels over 5000ppm H2S will damage the sensor.
Exposure to H2S levels from 2000-5000ppm with moisture will degrade the sensor more quickly. Using filters inline reduces the moisture content of the gas stream entering the instrument.
A common cause for lower than expected gas readings is leakage in the instrument. Perform a leak test by connecting the Condensate Separator Tube to the Pressure Connection 1 Port with tubing.
Perform a leak test as described in the User Manual Optima 7 Biogas. If the leak test fails, check for defective or missing o-rings in the Condensate Separator Tube.
If the user uses the Sampling Probe with sampling lines to take gas readings, place a clean Leak Proof Test Cap on the end of the probe spike. Attach the other end of the sampling line onto the Condensate Separator Tube. Perform the leak test. If the leak test fails, check for defective or missing o-rings in the Condensate Separator Tube and for cracks in the sampling line.
Look closely at the prongs of the thermocouple. The prongs might be dirty. Use a sponge soaked in a 1:3 vinegar/water solution and gently wipe the prongs. Wipe dry with a lint-free cloth or allow to air-dry.
Simultaneously, press the ESC key and the power button then release both keys. You will have to update the Date and Time setting in your instrument afterwards.


